

How to clean a wax warmer between scents
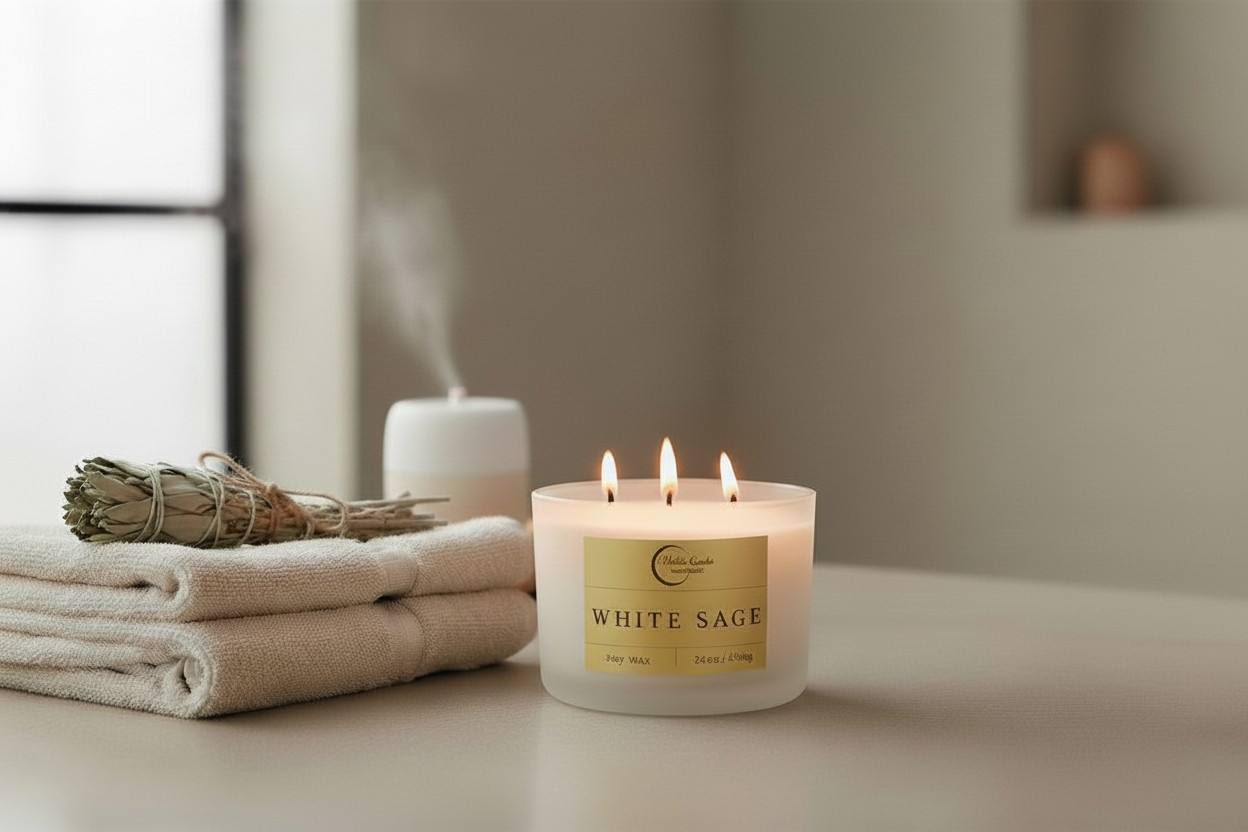
To clean a wax warmer between scents, switch it off, unplug an electric model, and remove the old wax using the method permitted by its instructions. Wipe away the remaining film without scraping or soaking the warmer, then let the dish dry completely before adding a new scent. Handle wax only when it is comfortably warm, never hot; a clean-looking dish can still hold fragrance residue.
TL;DR
Learning how to clean a wax warmer starts with the appliance instructions, not a universal heating time.
Warm wiping removes softened wax; cool release works only when the dish and manufacturer permit it.
Keep wax out of drains and water away from the electrical base.
Maddox Candles suits home-fragrance shoppers choosing wax melts alongside candles and reed diffusers.
For a simple 2026 scent-switching routine, keep the focus on removing wax and its remaining film—not making the dish smell like a cleaning product. If you are exploring home fragrance at Maddox Candles, the same care principle applies: follow your warmer's instructions before changing anything about its cleaning routine.
Why this matters
A little leftover wax can carry yesterday's fragrance into today's melt. When you want a fresh scent on its own, emptying the dish is only part of the job; the thin coating around its edges needs attention too.
Remove the residue, not just the wax pool. That gives the next fragrance a cleaner starting point without aggressive scraping, added perfume, or unnecessary cleaning chemicals.
The other priority is protecting the warmer. A removable dish, a fixed warming well, and a silicone liner do not necessarily tolerate the same treatment, even when they all hold wax melts.
How to clean a wax warmer between scents
Start with the warmer's care instructions and identify whether its dish lifts out. Set out a soft cloth or paper towels and a suitable waste container before you begin, so you do not have to carry an uncovered dish of liquid wax across the room.
Choose the method your warmer permits. Neither method below requires a knife, a freezer, or water inside the electrical base.
Cleaning method | Best for | Main advantage | Main limitation |
Warm wipe | Dishes whose instructions allow removal of softened wax | Removes wax without prying against the surface | Wax and the dish must cool enough to handle safely |
Cool release | Removable dishes or liners designed to release solid wax | Lets you remove the main wax piece without handling a liquid pool | Does not work with every dish; never force stuck wax |
1. Check the instructions
Look for the approved cleaning method, whether the dish is removable, and any restrictions on soap, water, or cleaning products. A dish that lifts off an electrical warmer is not automatically dishwasher-safe or suitable for soaking.
For your 2026 cleaning routine, keep those instructions accessible rather than relying on a fixed heating time from a general tip. Warmer designs differ, and the condition of the wax matters more than a stopwatch.
2. Switch off safely
Switch off the warmer and unplug an electric model before cleaning. If your warmer uses a tealight, extinguish the flame and allow the holder and dish to cool before handling them.
If the wax is completely solid and the instructions call for warm removal, use the appliance normally to soften it, then switch it off and unplug it before proceeding. Do not add water or use another heat source to speed things up.
3. Remove old wax
For warm wiping, wait until the dish and wax are comfortably warm rather than hot. Use folded paper towels to absorb the softened wax, keeping your fingers away from the wax pool and any heated surface; let the waste cool before putting it in the trash.
For cool release, let the wax harden fully and follow the dish or liner instructions. Flex only a liner designed to flex, and lift out wax only when it releases without force. If it resists, stop rather than prying it out with a sharp tool.
4. Wipe the film
Use a fresh soft cloth or paper towel to wipe the dish's bottom, sides, and rim. Reusing a wax-soaked towel spreads the old coating back over the surface.
If the manufacturer permits washing a removable dish, follow that procedure separately from the base. Use only an approved cleaner, rinse away any permitted soap, and do not put a hot dish into cold water.
5. Dry and reset
Let every cleaned part dry completely before reassembling the warmer or reconnecting power. Check the underside of a removable dish as well as its interior; moisture should not be trapped where the dish meets the appliance.
Add the next melt according to the warmer and wax instructions. Keep used towels, packaging, and other combustible materials away from the warmer before switching it on again.
Remove the old wax and its remaining film before adding a different scent.
Warm wiping: best for approved softened-wax removal
Use warm wiping only when the warmer's instructions allow it. The aim is to remove wax that yields easily, not to handle a fully heated dish or rush through a hot wax pool.
Prepare your towels before touching the dish. If the surface feels too hot to handle comfortably, leave it alone until it cools; do not assume a dish is safe because the warmer has been switched off.
Work carefully around the rim, where a thin ring of wax can remain after the middle looks empty. Change to a clean towel when the first one becomes coated, and stop if removing the residue requires hard scraping.
The trade-off is handling softened material. Warm wiping avoids prying, but it requires attention to temperature and a safe place for used towels to cool.
Cool release: best for dishes designed to release wax
Use cool release when the dish or liner is designed for it. Let the wax become fully solid, then remove it using the manufacturer's directions rather than assuming every wax puck will pop out.
A flexible liner and a rigid ceramic dish behave differently. Do not bend a rigid dish, strike it against a countertop, or slide a knife under the wax to break the seal.
This method keeps the main wax piece solid, which makes disposal simpler. Its limitation is the remaining coating: even a neatly released puck can leave residue around the dish, so inspect and wipe the surface before adding another scent.
If the wax stays firmly attached, switch to another approved cleaning method. Resistance is a reason to stop, not a reason to apply more pressure.
Why wax-warmer cleaning varies
The right method depends on the appliance, not just the fragrance you used. Check these factors before making a cleaning shortcut part of your 2026 home-care routine:
Dish material: Ceramic, glass, metal, and silicone need care suited to their material and finish. Do not assume one cleaning method suits them all.
Removable or fixed construction: A removable dish can be handled separately if its instructions permit it. A fixed well requires particular care to keep moisture away from electrical parts.
Wax condition: Solid wax and softened wax need different handling. Choose an approved method that matches their condition rather than forcing removal.
Remaining film: An empty dish can still have a coating on its rim or sides. Inspect those areas before deciding the job is finished.
Manufacturer restrictions: Washing, liners, and cleaning agents are not universally approved. The appliance instructions take priority over a general household tip.
These differences also explain why there is no universal cleaning duration. Stop when the approved process is complete and the dish is dry, rather than trying to meet a particular time target.
What should I avoid when cleaning a wax warmer?
Avoid shortcuts that put heat, force, or liquid where they do not belong. A gentle cleaning method protects both your hands and the appliance.
Keep these habits out of your 2026 routine:
Do not pour wax down a drain. Wax can harden inside plumbing; let removed wax cool and dispose of it with household waste according to local guidance.
Do not scrape with knives or metal tools. They can scratch a finish or damage a dish, and a slipping blade creates another hazard.
Do not immerse the electrical base. Keep water away from plugs, switches, cords, bulb sockets, and heating components.
Do not shock a hot dish with cold water. Let it cool before following any approved washing instructions.
Do not improvise with solvents. Avoid alcohol, nail-polish remover, or other household chemicals unless the manufacturer explicitly approves them.
Do not add cleaning fragrance. Essential oils, room sprays, and scented cleaners are not substitutes for removing old wax.
Also skip freezer tricks unless the manufacturer specifically permits them. Moving an electrical appliance or an unsuitable dish between temperature extremes is not a necessary part of changing scents.
Do I need to clean my wax warmer every time I change scents?
Clean the dish between different scents when you want the new fragrance without deliberate mixing. Remove the old wax, wipe away the coating, and let any permitted wash water dry completely before restarting.
You do not need to turn every scent change into an intensive scrub. Match the cleaning to the residue and the approved care method; a clean surface matters more than a spotless-looking finish achieved with harsh products.
If you intentionally want to combine fragrances, follow the warmer's capacity instructions. Adding more wax to cover an unwanted scent is not cleaning, and overfilling creates a separate problem.
Why can I still smell the old scent after cleaning?
The old scent can remain because wax film is still on the dish, or because fragrance is lingering elsewhere in the room. Check the rim, the dish exterior, and any nearby spill before cleaning the same interior repeatedly.
Let the warmer cool before inspecting it. Remove used wax and scented waste from the area, then check the dish again away from active home-fragrance products.
A lingering smell alone is not a reason to use a stronger chemical. Repeat only the approved care process, and contact the manufacturer if residue cannot be removed without damaging the surface.
A calmer reset before your next scent
Once the dish is clean and dry, put it back securely and check that it sits as intended. Choose the next fragrance before turning the warmer on, so there is no need to handle a warming dish while searching through melts.
Maddox Candles offers wax melts as part of its home-fragrance range. Whatever scent you choose, let the appliance instructions—not the fragrance name—determine how you fill, operate, and clean your warmer.
For 2026, keep the routine simple: remove, wipe, dry, and reset. Extra cleaning ingredients do not replace those steps.
FAQ
What's the easiest way to clean a wax warmer between scents?
The easiest method is the one approved for your warmer: warm wiping for permitted softened-wax removal, or cool release for a dish designed for it. Switch off first, unplug electric models, and wipe away the remaining film before adding another scent.
Can I pour melted wax down the sink?
No, keep melted wax out of the sink because it can harden inside plumbing. Collect it safely, let it cool, and dispose of it with household waste according to local guidance.
Can I wash a wax warmer dish with dish soap?
Wash a removable wax warmer dish with dish soap only if the manufacturer permits it. Let the dish cool, remove the wax first, rinse as directed, and dry completely before replacing it.
Can I put my wax warmer in the freezer to remove wax?
Do not put a wax warmer or its dish in the freezer unless the manufacturer explicitly permits that method. Use an approved removal method instead of exposing the appliance or dish to unnecessary temperature changes.
How do I clean a wax warmer without a removable dish?
Clean a fixed dish using the appliance's approved wiping method after switching it off and unplugging it. Keep liquid away from the electrical base and never immerse the warmer.
Can I add a new wax melt on top of the old wax?
Adding a new melt on top of old wax mixes the fragrances rather than cleaning the dish. Remove the old wax and its residue when you want the new scent on its own, and follow the warmer's capacity instructions.
Does Maddox Candles sell wax melts?
Maddox Candles sells wax melts alongside scented candles and reed diffusers. Follow your own warmer's instructions for use and cleaning.
One last thing
A lingering scent is not permission to scrub harder. Before reaching for another cleaner, check for a wax-coated towel, discarded melt, or small spill nearby; the dish is not the only possible source of the old fragrance.
Keep a fresh towel ready for the final wipe. That small change prevents you from putting removed wax straight back onto the surface you just cleaned.


Comments